
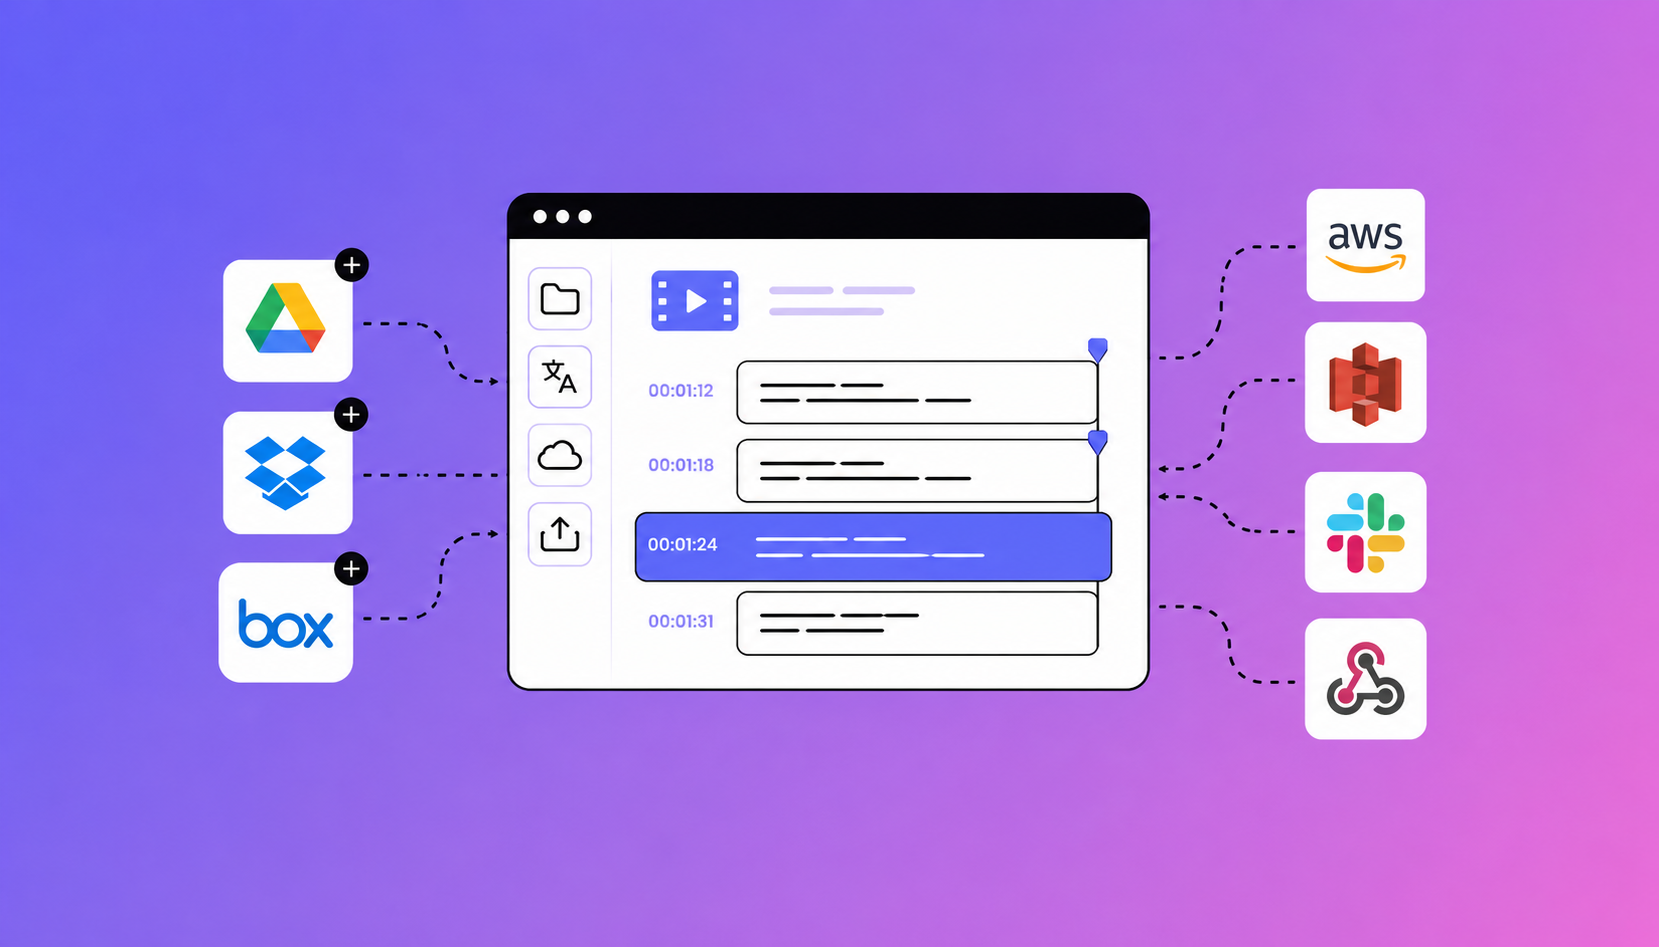
Transcription and subtitling never happen in a vacuum. Your source video lives in Google Drive or SharePoint. Your finished files need to end up in a shared folder, an archive or a media pipeline. And someone on the team always wants to know: is it done yet? Inwista's integrations are built to remove exactly those manual steps. You can import media directly from your cloud storage, have finished transcripts and video exports delivered automatically to the right destination, notify your team in Slack, and trigger your own systems with webhooks. Here's what's available — and exactly how to set each one up.
What you can connect
- Cloud storage: Google Drive, Dropbox, Box, OneDrive and SharePoint — for both importing source media and delivering finished files
- Infrastructure delivery: Amazon S3 and Google Cloud Storage — for teams with their own pipelines
- Team notifications: Slack
- Automation: Webhooks for connecting Inwista to any system you run
Before you start
All integrations live in one place: open My workspace from your dashboard and select the Integrations tab. Two things to know:
- Integrations are included on every paid Inwista plan — no add-ons required.
- If you are part of a larger team using Inwista, you need a workspace administrator role to connect and configure integrations. Once connected, all workspace members can use them when uploading and exporting.
This article gives you the essentials for each integration. For complete step-by-step guides — including screenshots, configuration details and troubleshooting — every integration has its own dedicated guide in our Help Center.
Import files straight from your cloud storage
The first friction point in any media workflow is simply getting your files in. If your media already lives in Google Drive, Dropbox, Box, OneDrive or SharePoint, there's no reason to download it to your desktop just to upload it again.
How to do it:
- Connect your storage provider: in My workspace → Integrations, find the card for your provider and click Connect. Sign in and approve the permissions — the card will show Connected when you're done.
- When creating a new project, look for Or import from below the upload area and choose your provider.
- Browse or pick the audio or video file you need. Inwista fetches it server-side — nothing passes through your device.
A couple of details worth knowing: the Google Drive connection uses Google's most restrictive permission model, so Inwista can only see the folder it creates and the individual files you pick — never the rest of your Drive. And OneDrive and SharePoint share one Microsoft connection, so connecting one makes both
available.
More information can be found in the dedicated guide in our Help Center.
Deliver finished work automatically
The other end of the workflow matters just as much. Instead of downloading finished files from Inwista and moving them somewhere else by hand, let Inwista deliver them for you.
How to set it up:
- On your connected storage card, click Manage.
- Click Choose folder to decide where files should land. By default Inwista creates a Inwista folder at the top level of your storage, but you can pick any folder — including a shared SharePoint document library if your whole team needs access.
- Flip on the two automation switches: Deliver new transcripts automatically sends transcript files the moment a transcription finishes, and Deliver video exports automatically does the same for finished renders.
- Pick your transcript formats (SRT, VTT, DOCX and more) and adjust the file name template in the same settings.
Every project gets its own subfolder, named after the project, and re-deliveries update files in place — so the latest version is always at the top. Enable Keep delivery history and each delivery also stores a timestamped copy in a revisions subfolder, so nothing is ever lost.
Prefer to decide case by case? Leave the switches off and use the Save to selector in the export dialog instead — it delivers just that export to the destination you choose.
For technical teams: Amazon S3 and Google Cloud Storage
If your organisation runs its own media infrastructure, Inwista can deliver directly into an S3 bucket or a Google Cloud Storage bucket — ideal for feeding archives, publishing systems or downstream processing.
How to connect Amazon S3:
- Create a dedicated IAM user with programmatic access, scoped to a single bucket. The policy only needs
s3:PutObjectands3:ListBucket— nothing account-wide. - In My workspace → Integrations, click Connect on the Amazon S3 card and enter the access key ID, secret access key, region and bucket name.
- Inwistavalidates the credentials immediately with a signed request against the bucket — so misconfigurations surface right away, not at your first delivery.
How to connect Google Cloud Storage:
- Create a dedicated service account with Storage Object Admin on one bucket only.
- In Cloud Console, go to Cloud Storage → Settings → Interoperability and create an HMAC key for that service account.
- On the Google Cloud Storage card in Inwista, enter the HMAC access ID, secret and bucket name. Inwista verifies the connection before saving anything.
Deliveries land under a Inwista/ prefix, one folder per project, and the same automation switches apply. Both integrations are delivery-only — source media comes in via upload or the cloud storage integrations above.
More information can be found in the dedicated guide in our Help Center.
Get notified in Slack
Sometimes the most valuable integration doesn't move a single file — it just tells the right people that the work is done.
How to set it up:
- In My workspace → Integrations, click Connect on the Slack card.
- On Slack's authorization screen, pick the channel Inwista should post to — anything from #general to a dedicated #subtitles channel — and click Allow.
- Under Manage, choose which events post: Post when transcripts complete, Post when video exports complete, or both.
Each message shows the project name, language and duration, with an Open in Inwista button that jumps straight into the project. The messages contain links, not files, so your channel stays tidy.
Connect your own systems with webhooks
For everything we can't predict, there are webhooks. When a transcription completes or a video export finishes rendering, Inwista sends a signed JSON event to an HTTPS endpoint you control — and your system decides what happens next: archive the file, update a project status, kick off the next processing step, or feed an automation platform like Zapier.
How to set it up:
- In My workspace → Integrations, connect the Webhooks card and enter your endpoint URL (HTTPS required).
- Inwista generates a signing secret (prefixed
whsec_) and shows it exactly once — store it in your secret manager right away. - Use Send test event to fire a
webhook.testevent and confirm your receiver works before any real traffic arrives. - Toggle the events you want:
transcript.completed,export.completed, or both.
Every event carries download links for the finished files, and every request is signed with HMAC-SHA256 so your system can verify it genuinely came from Inwista. Full payload documentation, signature verification examples and retry semantics are covered in our webhooks guide.
More information can be found in the dedicated guide in our Help Center.
A connected workflow, start to finish
Put the pieces together and the workflow looks like this:
- Source media is imported directly from Drive, Dropbox, Box, OneDrive or SharePoint.
- Inwista transcribes, and you refine the transcript and subtitles — translating into additional languages if needed.
- Finished transcripts and video exports are delivered automatically to your team's storage or your own infrastructure.
- Slack tells the team it's ready, and a webhook triggers whatever comes next in your pipeline.
No downloading, re-uploading or checking whether something is finished. The files stay in your systems, and your team keeps the tools they already know — Inwista handles the part of the workflow it's built for and connects to the rest.
Ready to get started? Open My workspace → Integrations and connect your first integration — it takes about a minute. And if you want the full step-by-step guide for any integration, you'll find them all in the Help Center.