
Inwista Studio is that suite: a full subtitle and video editor that runs in your browser tab, with nothing to install and nothing to render locally.
This is the tour — what you can do in it, where it fits next to tools like Premiere, and the two buttons everything ends with.
What Studio is — and honestly, what it isn't
Studio is not trying to replace your NLE, and pretending otherwise would insult everyone who owns one. It has two jobs, and it does both well:
The complete path for caption-first work. If the task is "this video needs subtitles" — not colour grading, not sound design — Studio takes you from raw transcription to styled, exported video without any other software touching the file. For social teams, communicators, educators and everyone whose deliverable is the captioned video, this is the whole pipeline.
The language stop before the NLE. If you do finish in Premiere, Resolve or Final Cut, Studio is where the text gets right before export — reviewed against the picture, corrected once, delivered as a clean SRT. Language work happens where language tools live; timeline work happens on the timeline.
The tour, by task
Text — edited against the picture
The core of Studio: the transcript on one side, the video on the other, always in sync. You edit the words while watching them land on screen — which matters, because subtitle decisions are contextual. Whether a line is too long isn't a character count in the abstract; it's a question of what it covers and when it flashes past. Studio keeps the answer in view while you type.
Timing — dragged, not typed
Timecodes adjust by dragging with the mouse — pull an in-point earlier, hold an out-point through a pause, done. No timecode arithmetic, no forms. For the occasional block that should breathe differently than the automation chose, this is a two-second fix.
Lines and blocks — the surgical layer
Shorten a line, redistribute text across blocks, re-break where a sentence actually pauses. Worth being clear about the division of labour here: Enhance is the machine pass — the whole file restructured to professional standards in one click — and Studio is the human pass on top of it: the handful of judgement calls the automation shouldn't make for you. Run them in that order and the manual work stays a handful.
Speakers — named once, labelled throughout
For interviews, meetings and podcasts, the speaker tools live here too: name the detected speakers, reassign a line where needed, and carry the labels into your transcript exports.
Appearance — presets first, control after
For burned-in output, Studio styles the captions: ready-made presets in TV/broadcast and social styles for a professional look in one click, then full manual control — font, size, colour, background, placement — when brand guidelines have opinions. Styled once, the look travels with the export everywhere the video goes.
Beyond the text — the facelift layer
Studio also edits the video, lightly: add images, graphic elements and emoji, drop in a logo, give a plain recording enough visual life for a feed. You can import your own videos and files to work on. It's deliberately not an effects suite — it's the difference between raw and presentable, made in minutes.
The two buttons everything ends with
When the work is done, the dashboard offers the fork we've written a whole decision guide about:
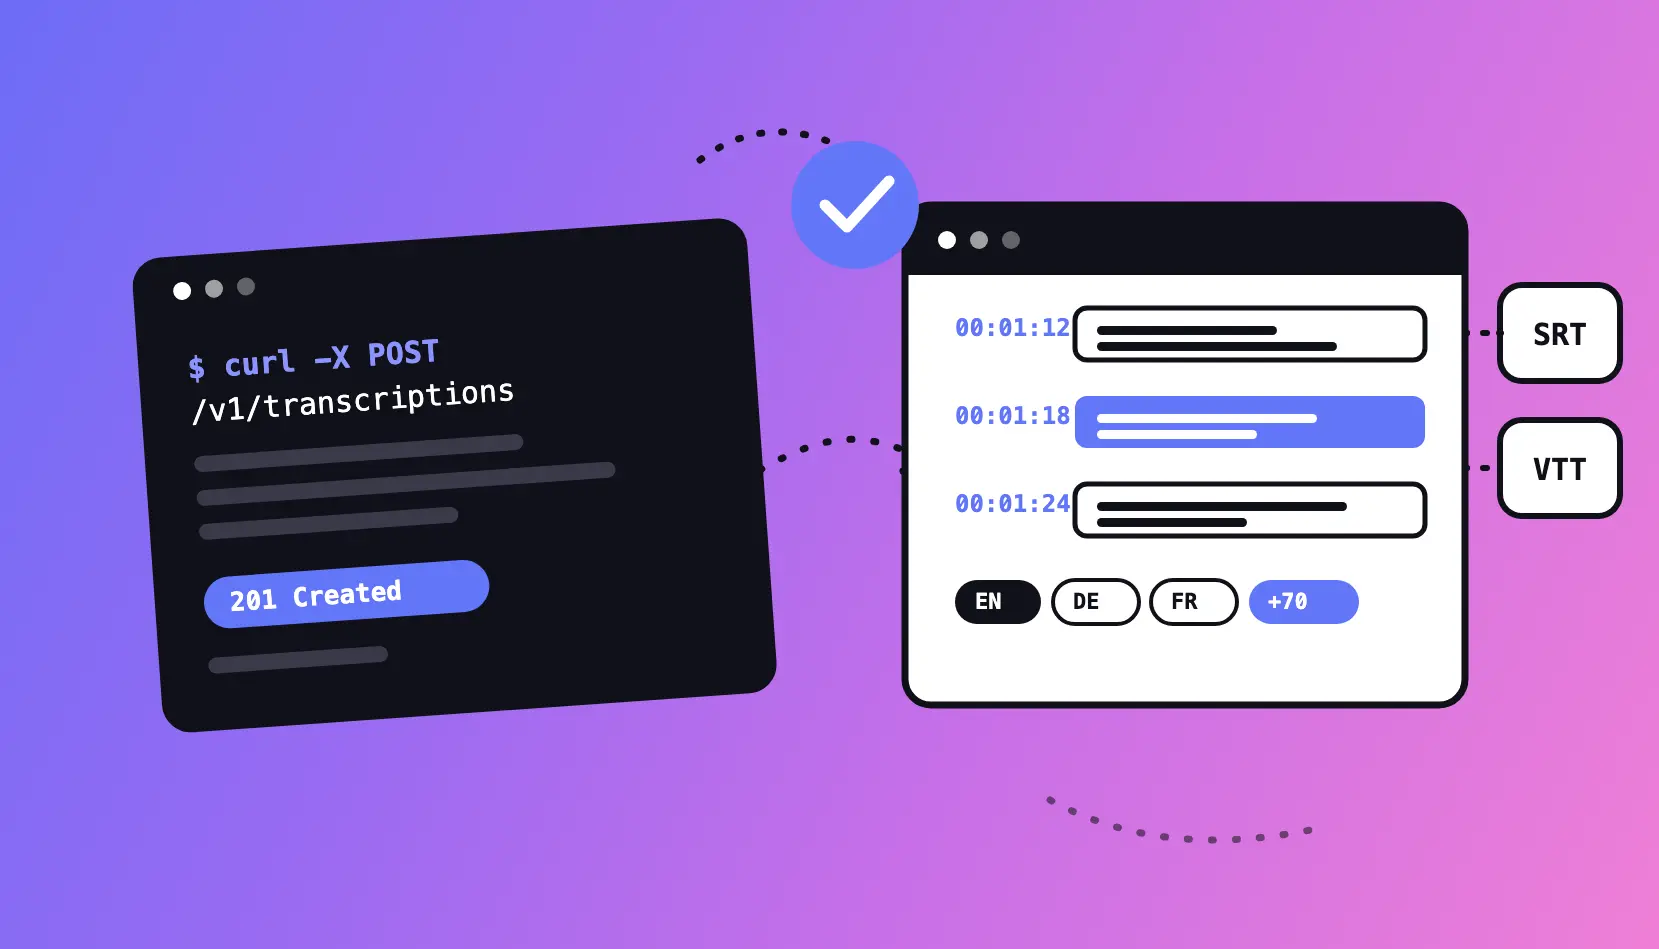
- The grey button — Export text file. Your captions as SRT, VTT or TXT — for YouTube, your website's player, an NLE, or a transcript. Available on every plan, watermark-free.
- The blue path — Download video, with your styled subtitles burned in — ready for the feed, the inbox, the presentation. One honest footnote: video exports on the Free plan carry a watermark at up to 720p; Lite (€19/month) removes the watermark at 1080p; Pro exports up to 4K.
Most regulars leave with both. It takes seconds, and it means the right asset exists for every destination the video will ever meet.
The point of a browser editor
No installation, no licence seat, no "works on my machine." A link and a login is the entire onboarding — which is precisely what makes Studio viable for the people subtitling usually gets delegated to: the communications officer, the course coordinator, the intern with the backlog. The tool meets them where they already are. Inwista's free plan lets you run the whole workflow on your own material — upload, transcribe, structure, edit and export. Current limits and plan details are on the pricing page.
Open Studio with your first file →
Frequently asked questions
Do I need to install anything? No — Studio runs entirely in the browser. Upload, edit, style and export from a tab, on any machine with a login.
Can I bring my own video into Studio? Yes — import your own video and files, work on them in the editor, and export with the subtitles and elements you've added.
What's the difference between Studio and Enhance? Enhance is the automated pass: the whole subtitle file restructured to professional standards in one click. Studio is the manual layer: your judgement edits, timing nudges, styling and extras. The intended workflow is Enhance first, Studio after — machine pass, then human pass.
Does styling in Studio change my SRT file? No — an SRT carries text and timing only; appearance in sidecar files is applied by whatever player shows them. Your Studio styling lives in the burned-in video export, where it displays identically everywhere.
Can I add a logo or graphics to the video? Yes — images, graphic elements and emoji can be placed on the video in Studio, so the export arrives feed-ready rather than raw.
What's the maximum export quality? Subtitle files are identical on every plan. Video exports: up to 720p with a watermark on Free, 1080p without watermark on Lite, and up to 4K on Pro — with best available quality on Enterprise.