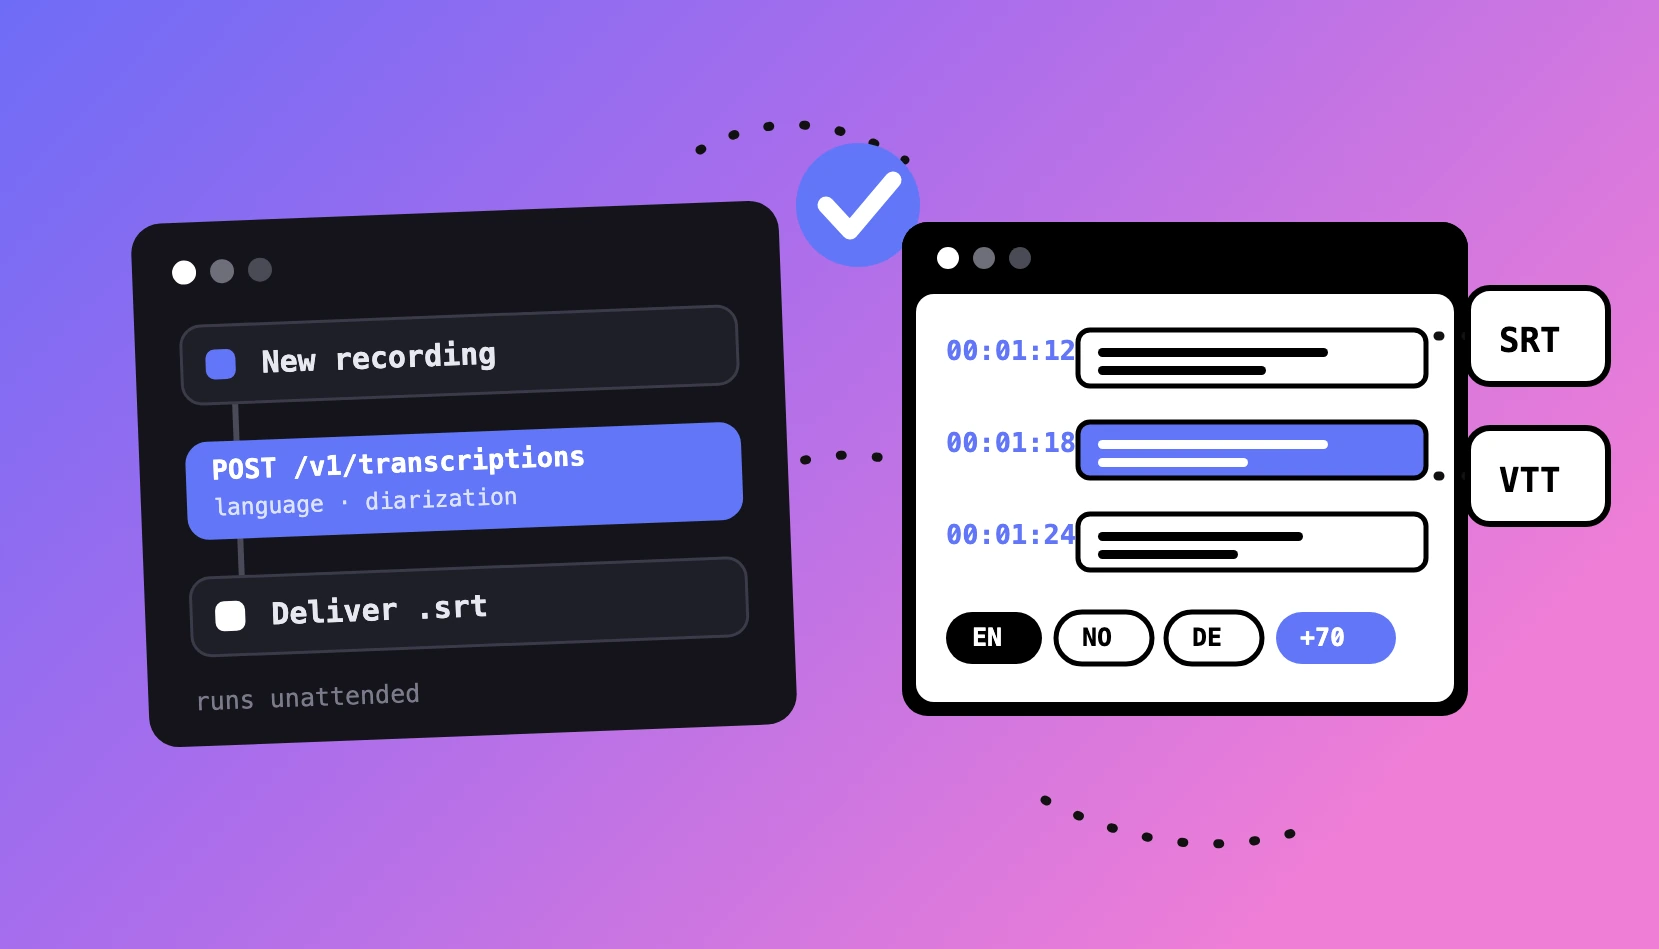

Subtitling looks like one task and is actually six. A recording becomes a transcript; the transcript becomes structured subtitles; the subtitles get edited, possibly translated, exported in the right format, and delivered to wherever the video lives. Do those steps in the wrong order and each one partially undoes the last. Do them in the right order and every step counts exactly once.
This guide is the map of that chain — what each stage does, the one principle that governs it, and where to go deeper. Each step links to a full guide of its own; this page is where they connect.
Step 1 — Transcribe: get the words right at the source
Everything downstream is built on the transcription, which makes this the stage where accuracy is cheapest to buy. Upload the file, choose the language, and set up the job properly before it runs: a glossary teaches the transcription your names, brands and terminology so they arrive correct instead of getting fixed later — and for interviews, panels and any multi-voice recording, speaker separation keeps who-said-what intact from the first pass.
The governing principle: fix things at the earliest stage they can be fixed. A name corrected in the glossary is corrected everywhere, forever. The same name corrected in the editor is corrected once.
→ Deep dive: Transcribing Interviews, Meetings and Lectures — With Speaker Labels
Step 2 — Structure: from accurate text to readable subtitles
Raw transcription gives you accurate text segmented by where the speaker breathed — which is not how subtitles work. Professional subtitles obey rules: block length, reading speed, line breaks at natural pauses, gaps between blocks. In Inwista, one Enhance pass applies all of them across the entire file at once; what used to be hours of block-by-block formatting becomes a review.
The principle: structure is not cosmetics. Reading speed and segmentation are the substance of broadcast standards — and the readability that accessibility law quietly assumes.
→ Deep dive: Introducing Enhance: One Click to Broadcast-Quality Subtitles → The craft behind the standards: What Makes a Good Subtitle?
Step 3 — Edit: cut the content by cutting the text
[VISUAL SLOT 2 — optional: screenshot of transcript-based editing — deleting a subtitle block with the cut-video option visible]
For talk-driven video, editorial decisions are about what was said — so the fastest place to make them is the text itself. In Inwista's editor you can delete a subtitle alone, or delete it and cut that moment from the video timeline in the same action. Revision history and full undo/redo sit underneath, so every experiment is reversible.
The principle: edit where the decision lives. If the decision is about words, make it in the words — the timeline follows.
→ Deep dive: Text-Based Video Editing: Cut Your Video by Editing the Transcript
Step 4 — Translate: multiply the reach, not the work
This step is optional — and the one where workflow discipline pays most. Finish the original completely before translating anything: one corrected source, then language versions generated from it, all living inside the same project on the same timeline. Inwista translates between 70+ languages, and each version is reviewed and exported from the one project instead of drifting apart as separate files.
The principle: translation multiplies whatever it's given. Give it a finished file and it multiplies quality; give it a draft and it multiplies corrections.
→ Deep dive: How to Create Subtitles in Multiple Languages — Without Doing the Work Twice
Step 5 — Export: the right format for the destination
One fork in the road: a subtitle file (SRT, VTT) that platforms and players render as a toggleable track — or the text burned in, permanently part of the picture. Neither is universally right; the destination decides. Files win where platforms support them (searchable, accessible, per-language); burned-in wins where they don't, or where you need total control of appearance.
The principle: the destination chooses the format — not habit.
→ The decision guide: Burned-In vs. Subtitle Files (SRT/VTT)
Step 6 — Deliver: the exit doors
The finished subtitles leave through one of three doors — each with its own guide:
To a platform. YouTube takes an uploaded SRT per language — your accuracy instead of auto-captions, indexable text, and multi-language tracks on a single video. → How to Add Subtitles to YouTube Videos (the Right Way)
To an editing suite. When Inwista is the language front end and the picture work happens elsewhere, the SRT imports cleanly into Premiere Pro, DaVinci Resolve and Final Cut Pro. → Using Inwista SRT Files in Premiere Pro, DaVinci Resolve and Final Cut Pro
Automatically. Import source files straight from Google Drive, Dropbox, Box, OneDrive or SharePoint, and deliver the finished subtitles back to the same folders — or into an Amazon S3 or Google Cloud Storage bucket for teams running their own pipelines. A Slack notification tells the team the moment it's done, and webhooks connect Inwista to any system you run — the handoffs removed entirely. → Connect Inwista to the Tools You Already Use
The bonus step — Repurpose: the transcript keeps paying
The workflow's quiet dividend: by the time the subtitles ship, you also own a corrected, time-aligned transcript of everything said — and it describes the video you actually published, because the edit happened in it. Summaries, Q&As, chapters and highlights generate directly from it, turning the one recording into a small content calendar.
→ Deep dive: Turn One Recording Into Ten Assets
Why the order matters
Run the chain backwards and every stage sabotages the next: translate before editing, and every cut must be made in every language. Export before structuring, and the cleanup happens in an NLE's caption panel — the slowest possible place. Fix names in the editor instead of the glossary, and you fix them per occurrence.
Run it forwards and the work compounds instead: the glossary makes the transcript right, the transcript makes the structure fast, the structure makes the edit safe, the edit makes the translation clean, and the corrected original makes every language version and every derivative asset inherit the quality automatically.
That's the whole trick. Not more effort — effort in sequence.
(If accessibility compliance is what brought you here: the same workflow, run properly, is how the European Accessibility Act's caption requirements get met in practice — the complete legal guide is here.)
Run the whole workflow on your own footage
Inwista's free plan lets you run the whole workflow on your own material — upload, transcribe, structure, edit and export. Current limits and plan details are on the pricing page.
Upload a video and start at Step 1 →
Frequently asked questions
How long does the full workflow take? Transcription runs at roughly one-fifth of the clip's duration — a ten-minute video transcribes in about two. Structure is one Enhance pass. After that, the human steps — review, edit, translation review — are where the time goes, and they're precisely the steps that were always yours.
Do I have to do every step? No. A YouTube clip in one language skips Step 4 entirely; a file destined for an editing suite treats Step 6 as its start line. The chain is a map, not a mandate — but the order holds for whichever steps you use.
Where does subtitle quality fit in this? Everywhere — it's the property the workflow exists to produce. The standards themselves (reading speed, line breaks, timing) are covered in What Makes a Good Subtitle?, and Step 2 is where they get applied.
Can I start with a file I've already transcribed elsewhere? Yes — import the existing subtitle file and pick up the chain at Step 2. The structuring, editing, translation and export stages work the same.